
First step is to create a virtual environment to install all needed libraries.
Python3 incorporates a virtual environment (venv) maker. To create a venv with python3 we need to run:
python3 -m venv my-virual-environmentOr something more realistic:
python3 -m venv venvThen, we need activate the virtual env to install Django so we can use the django-admin tool to create the project.
source venv/bin/activateNow, we can install Django
python3 -m pip install DjangoWe need to run the following command to create the project.
django-admin startproject mysiteThis command is going to create a folder (next to venv) with the minimal Django files to work. We may want to deactivate the venv and move it inside the new project directory.
# Deacivate venv
deactivate

# Move venv to project directory
mv venv mysite
Now we can enter into the project directory and re-activate the venv
# Enter into the project directory
cd mysite

# Re-activate venv
source venv/bin/activate
Then we need to run the migrations and collect static files before to run the app itself
python3 manage.py migrateTo collect static files we need to add a couple of configurations to the file settings.py under “mysite” folder.
# settings.py
import os
...
...
STATIC_ROOT = os.path.join(BASE_DIR, 'static')
STATIC_URL = '/static/'
MEDIA_ROOT = os.path.join(BASE_DIR, 'media')
MEDIA_URL = '/media/'
Now, we can run the command to collect static files.
python3 manage.py collectstaticFinally, we can run our Django project.
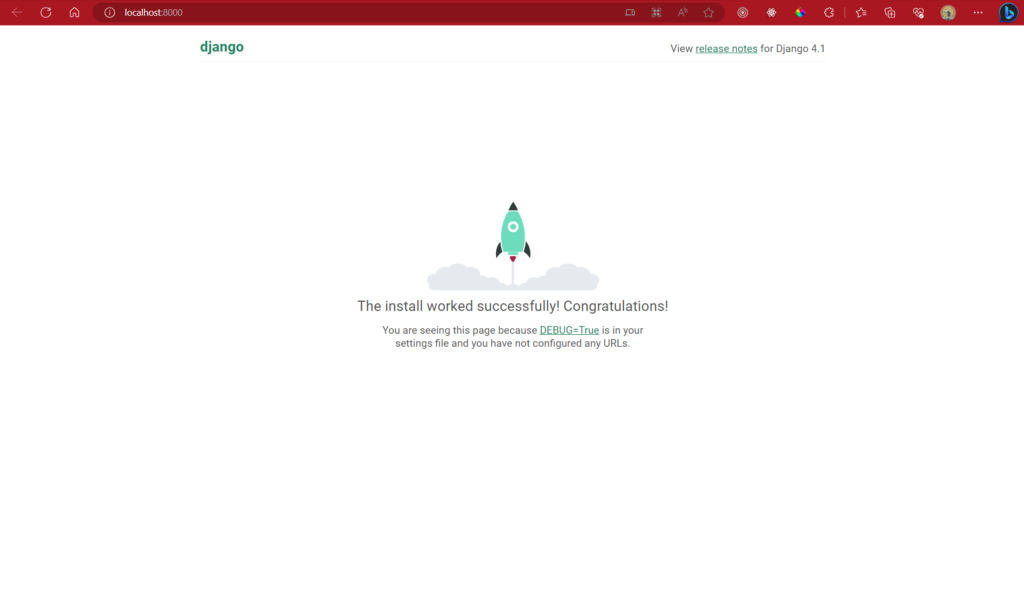
python3 manage.py runserver 0.0.0.0:8000If we did it right, we should see something like this in the browser.
Que es scratch?
“Desde cero” 😄